Configuration
You configure the integration from the Irrigation Plus panel in the Home Assistant sidebar. Make sure you install it first.
First-run setup wizard
The first time you open the panel — or any time via the Setup wizard button (top-right of the Setup tabs) — a guided wizard walks you through the four building blocks in order:
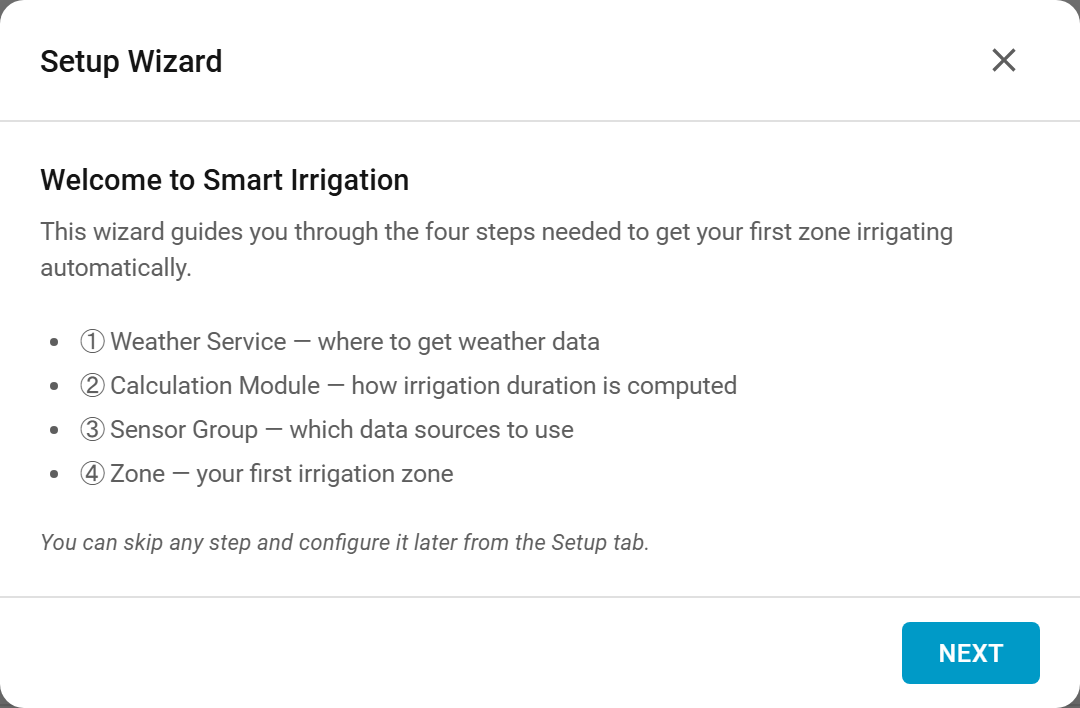
- Weather — pick a weather service (Open-Meteo needs no API key) or choose to use your own sensors.
- Module — the calculation module that turns weather into an irrigation duration (PyETO by default).
- Sensor group — where each weather value comes from (the chosen weather service, a sensor, a static value, or none).
- Zone — your first irrigation zone, optionally linked to a switch/valve entity.
When you finish, the wizard creates a fully wired, ready-to-calculate zone. You can re-run it any time to add more, or configure everything manually using the tabs below.
The panel layout
The panel has two top-level areas:
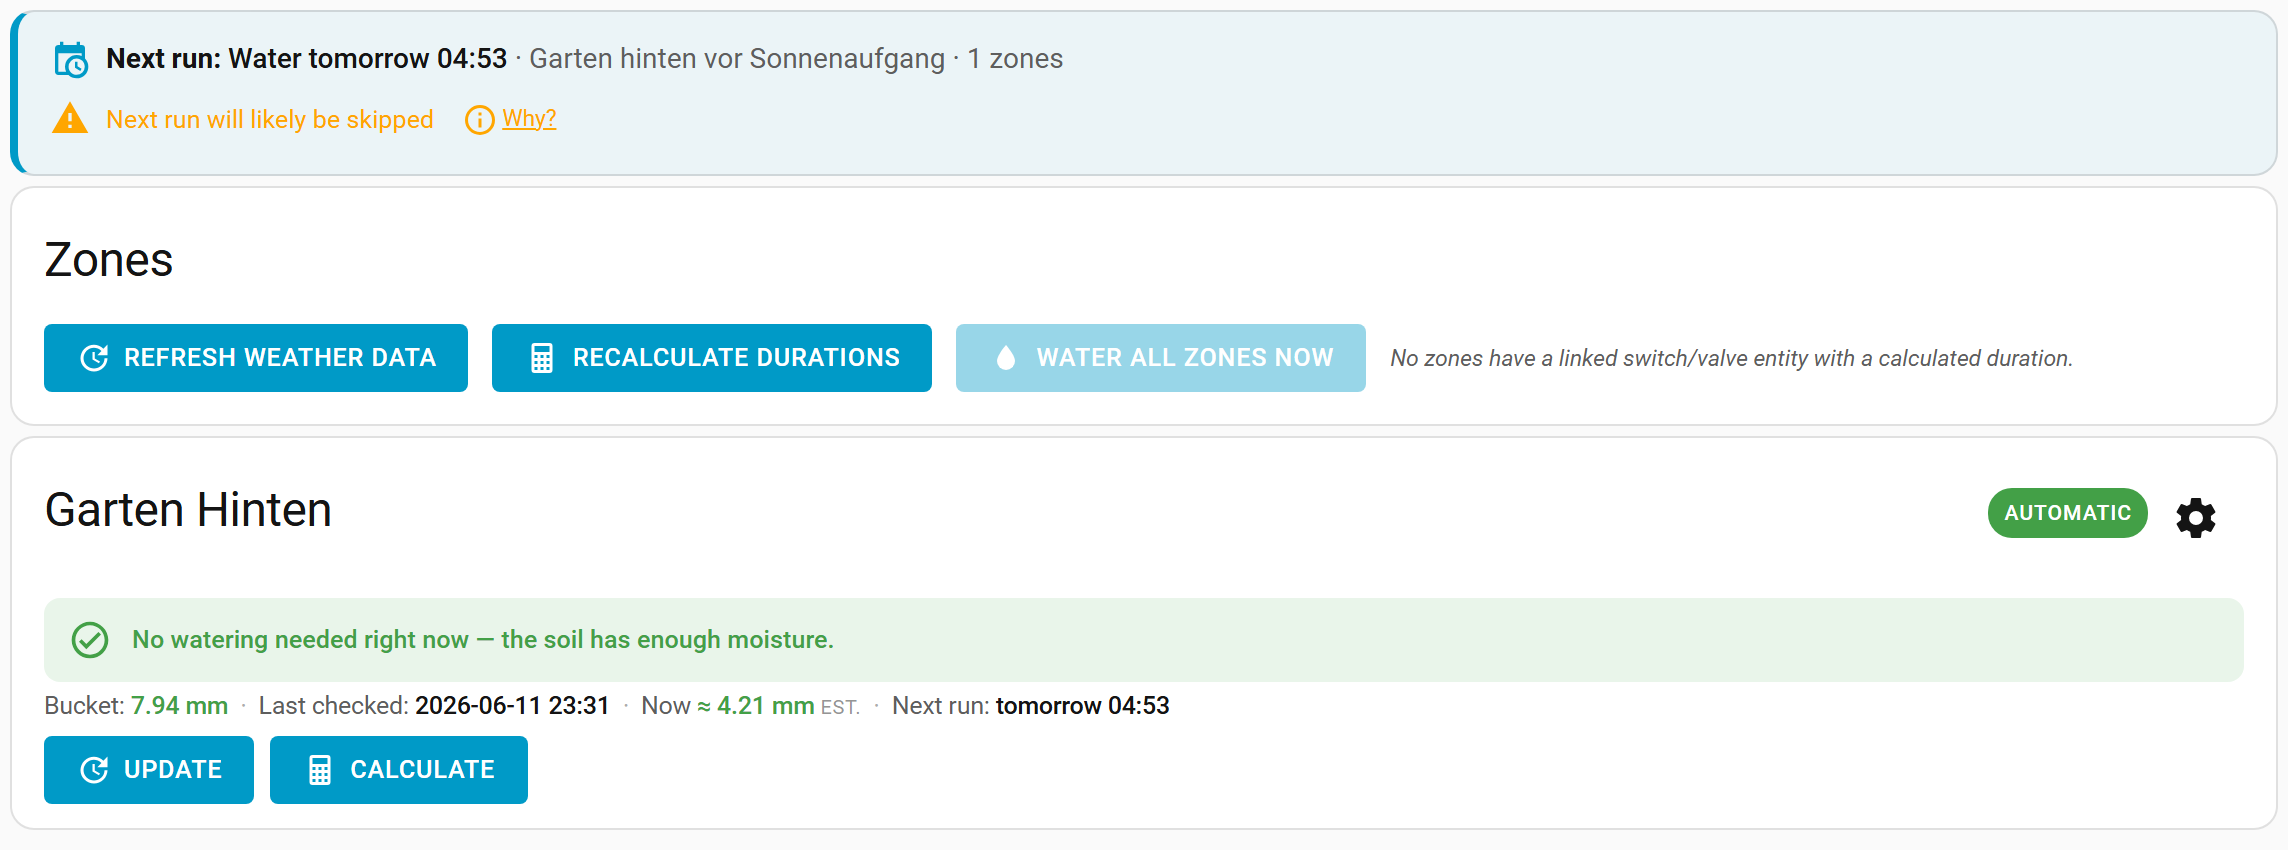
- Zones — the everyday dashboard. For each zone it shows at a glance whether it will water and why, plus one-tap Update, Calculate and Irrigate now. A gear icon on each card jumps to that zone's settings. See Zones.
- Setup — everything you configure once and rarely touch. The tabs are grouped around what you're trying to do rather than the internal data model, and the docs follow the same structure:
- Weather & Location — your weather service and location coordinates, plus the weather forecast, per-source weather records and the seasonal outlook.
- My Zones — add, edit and delete zones, link each to a switch/valve entity, and view each zone's calculation explanation.
- Distributors — (experimental, off by default) drive a mechanical water distributor that splits one supply across several outlets, and assign zones to its outlets. Enable it under Experimental first.
- When to Water — the automatic update/calculation times, skip conditions, days between irrigation, zone sequencing, and recurring schedules.
- Advanced — the raw calculation modules (PyETO, Static, …) and sensor groups. Most setups never need to open these directly — the wizard wires them up for you.
- Experimental — opt-in features that change how the bucket is filled (crediting the bucket from observed watering, live-estimate watering). Off by default.
- Help — links to this documentation and the community/issue trackers.
Suggested reading order: Weather & Location → My Zones → When to Water → Schedules → Modules and Sensor groups if you need them. The Experimental features are optional extras you can explore once the basics work. If you use a mechanical water distributor, see Distributors (also opt-in, enabled from the Experimental tab).